

How to use Checkbox webhooks with your API
Overview of Checkbox Webhooks
Checkbox webhooks can be added to any page of your survey, allowing you to post real-time response data to an API of your choice. One of the most common tools to integrate with webhooks is Zapier, but you can also create your own API to submit the webhook to which this guide will help with.
Pre-requisites:
- Some coding knowledge
- An API that you host to submit the webhook to
If you do want to use webhooks, but don't want to write code or have your own API we suggest you look at our Zapier webhook guide here:
1. Create an endpoint on your API to submit the Webhook to
In order to post the webhook data Checkbox will need an endpoint that it can send the data to. For this you will want to create an endpoint in your API or website that you can submit data to. For testing we recommend you utilize this tool here: https://webhook.site which can be utilized to test your endpoints and see the data structure you should expect. This is a third party site, so make sure that you do not submit sensitive data to your survey while using this as a webhook.
2. Enable the Webhook Item in Checkbox
For security reasons, the webhook item is disabled by default in Checkbox. System administrators can enable the item by going to the Application Settings -> Survey -> Advanced Settings -> Enable webhook item. This step only needs to be performed once, prior to creating your first webhook.
3. Add a Webhook Item to your Survey
Although you can add a webhook item to any page of your survey, it is most commonly added to the Completion Page. Adding the webhook to the Completion Page will result in Checkbox sending the entire response to your API when the respondent submits their response.
- Edit your survey
- Expand the “Completion Page”
- Click “Add Action Item” and choose the Webhook item
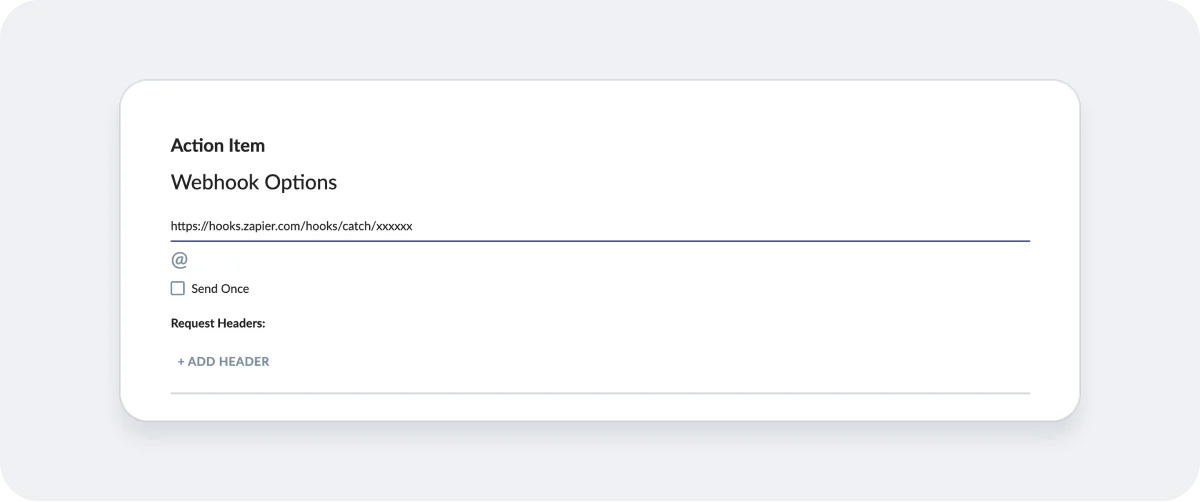
- In the Webhook URL field, paste the API endpoint that you created from Step 1.
4. Test your Webhook
Create a test survey response in Checkbox to test your webhook. This should submit the data to your API. This is where the tool https://webhook.site can be helpful. Testing at this stage will make the following steps easier to complete and test.
5. Parse the response data
Your response data will be different depending on your survey questions and the number of pages you have but the basic structure should be similar. You can parse the data pretty easily like this example which pulls the question id, text, and answer for any questions that have options:
You can then parse this data and then store it in a database or trigger automatic internal alerts on your end, or just send the data off to a third party like Salesforce.
