Hello.
How can we help you?
Adding a new admin user
Admin users are created in the Contacts area of Checkbox, just like Respondents (survey takers). They are considered Contacts because they, just like Respondents, also have the ability to take surveys. When you create your admin users, you will have the option to assign different roles, in addition to Respondent, that will give them access to administrative functions like survey and report creation.
1. Go to the main Contacts menu and click Create Contact

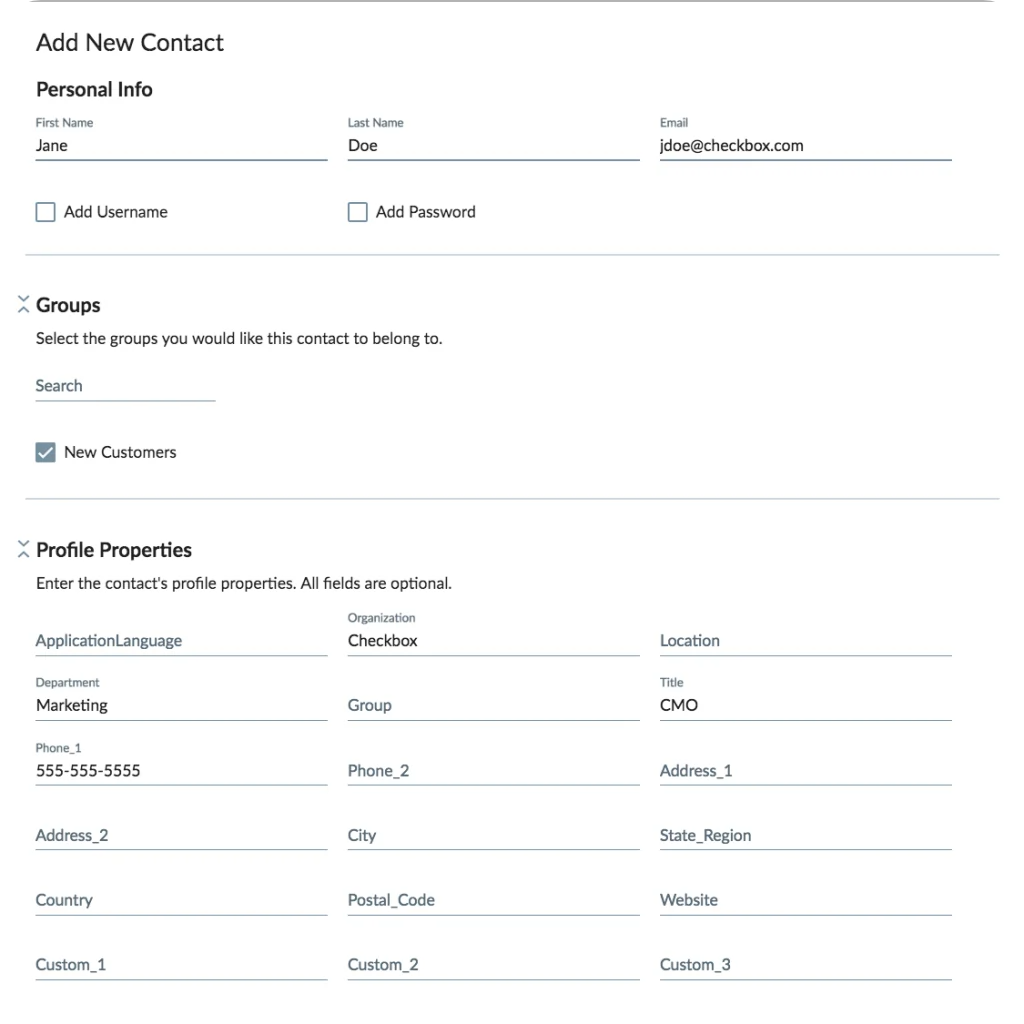
2. Enter your user’s information in the pop-up form
- Email or Username (at least one required): You must enter either an email address or username for your admin user. Usernames must be unique for each contact and may only contain letters, numbers, underscore, @ sign, period, dash or single quotations. If you enter an email and not a username, the email address will also be used as the username.
- Name (optional): First Name and Last Name are optional, but recommended.
- Password (optional): Password is optional. If you do not specify a password, Checkbox will assign a random one and your user will be able to reset it from their Welcome Email link (see below) or from the reset password link on the main login screen.
- Groups (optional): You have the option to select one or more Groups to add your user to, which can streamline the survey sharing process. If you don’t see any Groups available, you can add them under Contacts -> Groups.
- Profile Properties (optional): Profile Properties are data fields that allow you to store information about your Contacts/users. Checkbox comes pre-configured with the following fields: ApplicationLanguage, Organization, Location, Department, Group, Title, Phone_1, Phone_2, Address_1, Address_2, City, State_Region, Country, Postal_Code, Website, Custom_1, Custom_2, Custom_3. You can also add your own custom Profile Properties.

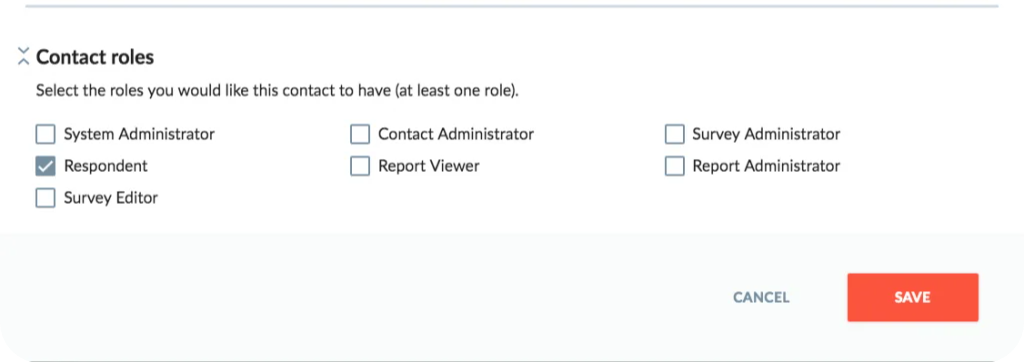
3. Assign Role(s) to your user
If you do not assign a role under the Contact Roles section of the Create Contact pop-up, your user will automatically be given the role of Respondent, meaning they can only take surveys. To give them additional access, such as the ability to create surveys or reports, you will need to assign them additional roles. Please see our Admin Permissions Guide for details on which roles allow access to which functionality in Checkbox.
If the role(s) you want to assign to your user are greyed out, this means you do not have enough user licenses to assign a licensed user role (System Admin, Survey Admin, Survey Editor, or Report Admin). Please contact sales@checkbox.com to purchase additional user licenses.

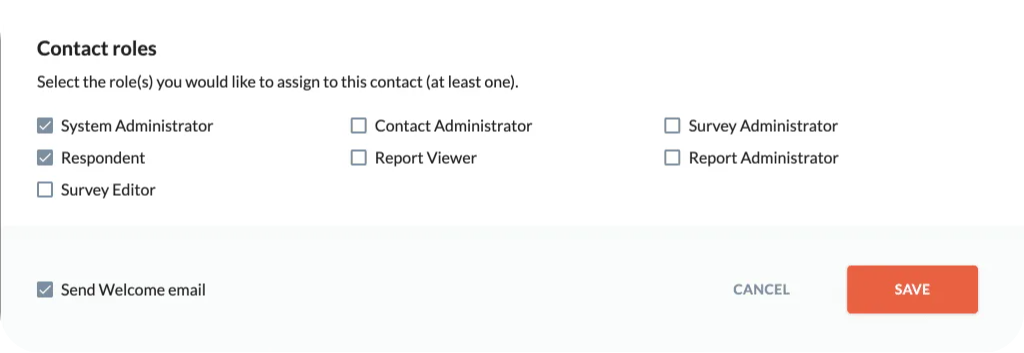
4. Send a Welcome Email (optional)
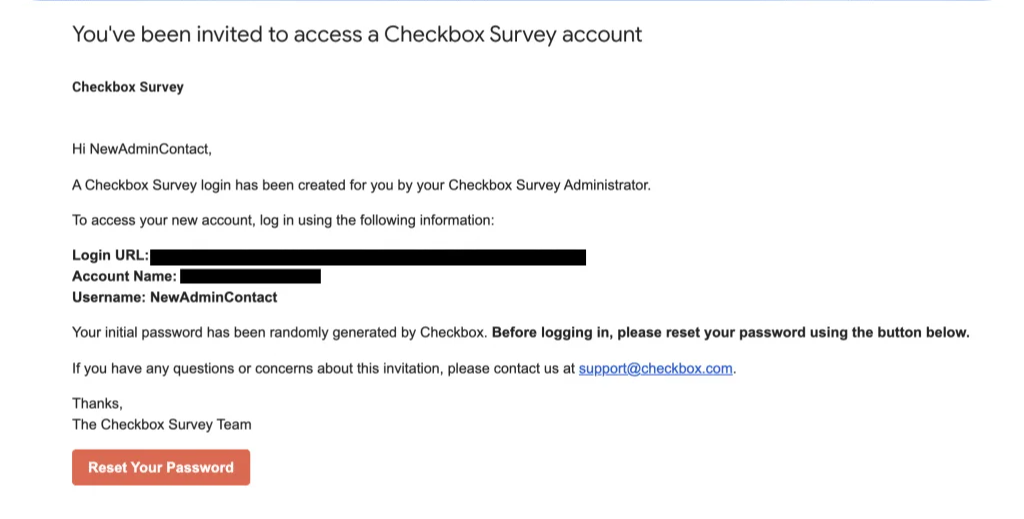
When you assign any admin role to your user (System Admin, Survey Admin, Survey Editor, Report Admin, or Contact Admin), an option will appear on the bottom of the Add Contact dialog that will allow you to send your new user a Welcome Email – this option is selected by default. The Welcome Email will provide your new user with their login URL, including Account Name, and Username. It will also provide a link for the user to set their initial password. Note that a valid email address is required in order to send the Welcome Email, and that group or catch-all email addresses are not recommended since the email will contain sensitive account details.


