Importing Respondent Contacts
What is a Contact?
A contact is a user in Checkbox that can take surveys. All Contacts that you add to Checkbox have a default role of Respondent, meaning they will be able to take Public surveys, surveys that you email to them, and surveys that you give them access to.
Most of the time you will probably use the Contacts area of Checkbox to import and manage lists of individuals/groups of individuals to send your surveys to. However, you can also create admin users in the Contacts area.
Do I have to use Contacts? What’s the benefit?
No – setting your survey respondents up as Contacts is purely optional. When you distribute your survey you can always keep it simple and copy and paste the public survey link to anyone, in which case all responses would be anonymous. You can also send Checkbox email invitations to a simple list of email addresses, in which case each response will be associated with an email address.
However, if you want to save those email addresses in a list to use again, or import other information such as Name, Company, Department, etc., you will want to import your survey takers as Contacts. Contact information can then be used to personalize your surveys, can be exported with your survey responses, and can be used to filter reports or set survey logic.
Adding your survey takers as Contacts gives you the added benefit of being able to view and edit personal details, as well as view a list of all their survey responses in their profile.
How to Import Contacts
1. Prepare your .csv file
- Your .csv file should contain all the information you want to import for your Contacts such as email address, name, company etc.
- At a minimum, each Contact record (row of your file) must include either an email address or a username (which can be an email address, id#, or something else of your choosing).
-

2. Import Contacts
- Click Contacts at the top of your screen
- Click Import Contacts
-

3. Choose your Contact fields
- Choose the Contact profile fields that correspond to the columns in your .csv file. If you need to add additional fields to your account, System Admins can do this under Accounts Settings -> Contacts -> Profile Properties (or follow this Profile Property guide).
- Drag and drop the fields from left to right to select them. The fields you select must be in the same order as the columns in your .csv file – you can drag and drop them to re-order.

4. Upload your .csv file
- Click “Upload the contact .csv file” and find the file you prepared in step 1
- Click Upload to attach the file
- Click Next

5. Review your upload
- Review your valid and invalid rows to make sure the data looks correct
- Go back and correct any errors that appear under Invalid Entries. You may need to re-import your .csv file if it contains errors or invalid information.
- If your header row is the only invalid row, you can proceed – Checkbox will ignore this row.
- Click Next

6. Assign Groups (optional)
- You have the option to select one or more Groups to add your Contact to, which can streamline the survey sharing and sending processes.
- If you don’t see any Groups available, you can add them under Contacts -> Groups.
- Click Next

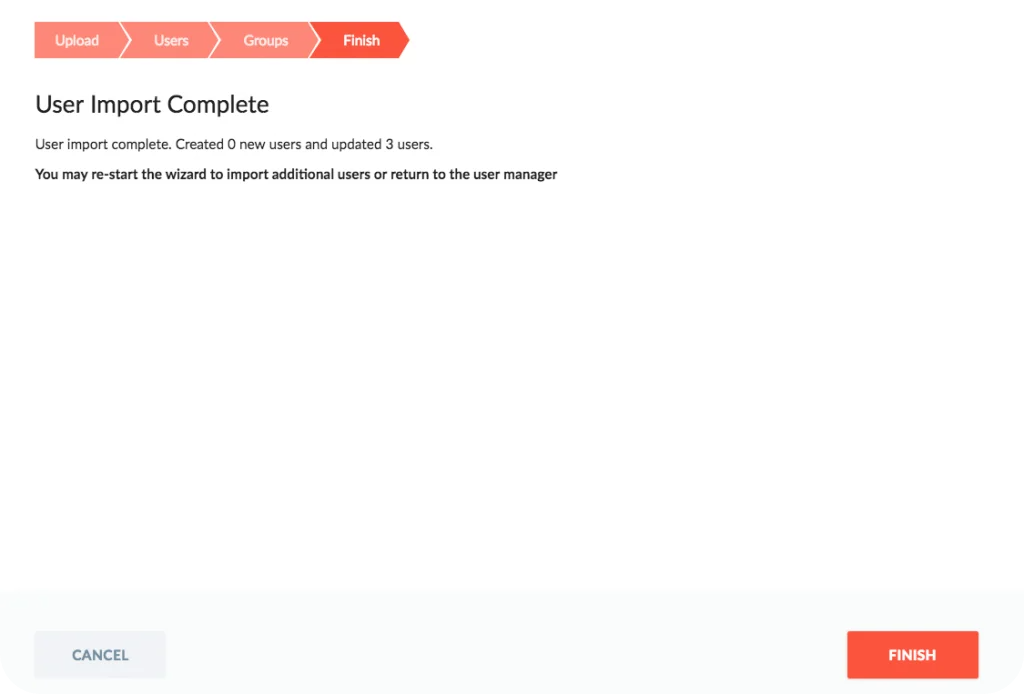
7. Review and Finish
- Review the roles and groups you are assigning – go back to correct any errors
- Check off the option to Update existing users if you are importing users that already exist in Checkbox and using the import process to update their information.
- Click Finish – you will see a progress bar for the import and receive a “success” message once the import completes. Do not close the window or browser before you receive this message.