Hello.
How can we help you?

How to Customize with Style Templates
Published
August 27, 2024
What are Style Templates?
Styles templates are reusable templates that you create under the main Styles menu and then apply to your survey(s). Style templates allow you to:
- Add custom logos, headers and footers
- Add background images or colors
- Standardize font styles and sizes across your entire survey (so you don’t need to set the font for each question)
- Add elements like progress bars to your survey
- Add custom css to further customize the look and feel of your survey
Do I need to use Style Templates?
No, you do not need to apply a style template to your survey. If you don’t, the default styling will be applied. We do, however, recommend that you apply a style template to make the most of Checkbox’s branding and style features.
Checkbox comes pre-loaded with several basic style templates. You are welcome to use these as-is, modify them, or create new custom styles. There is no limit to the number of style templates you can create in your account.
Creating a Style Template
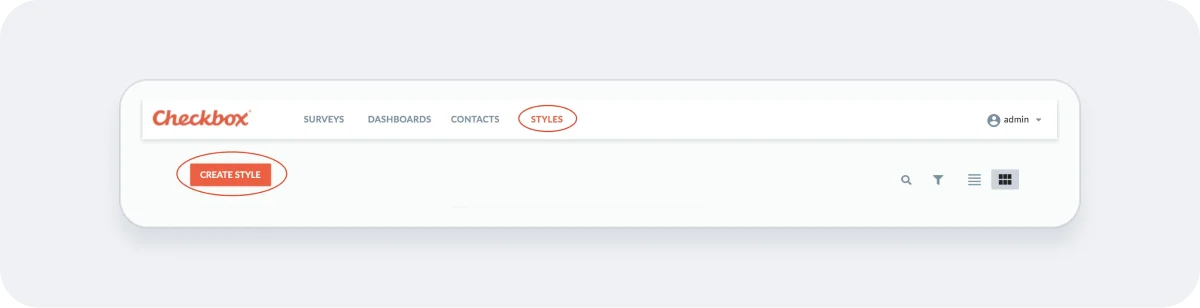
1. Click Styles and Create Style
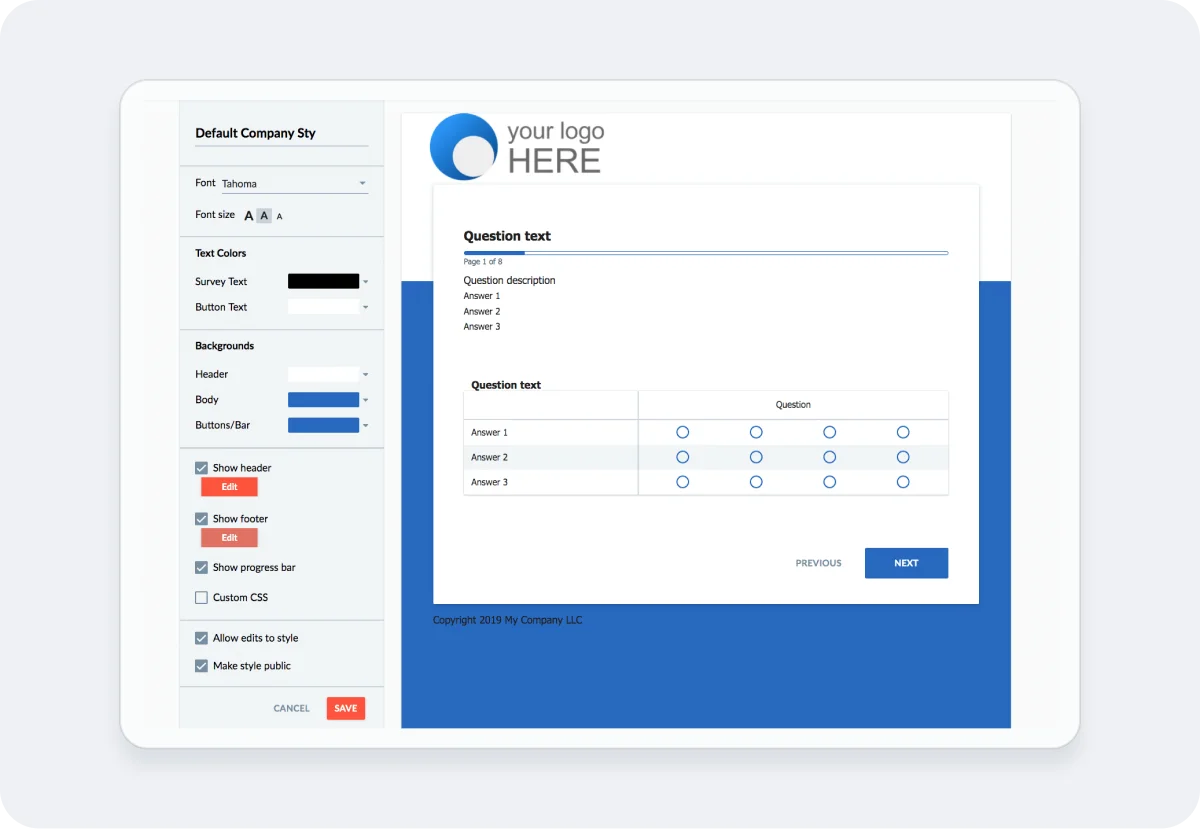
2. Customize your style template:
- Name: Give your style template a name. Tip: make it descriptive so it’s easy to remember and find, e.g. “Checkbox Survey Logo Grey Background”
- Font: Choose the font and font size category for your style. You can always modify the fonts of individual items using the item’s HTML editor, but choosing a font for your style template will ensure standard font formatting across your survey.
- Text Colors: Choose the color of your survey and button text. You can always change the color of individual question text in the survey editor, if you need to.
- Backgrounds: Choose the color of your survey’s header, body, and buttons/progress bar. You can choose a standard color or enter your own custom hex code (e.g. #dedede). You may also choose to use an image in the background of the survey body and/or header by clicking the image icon.
- Header: Click Show header and then Edit to display the HTML editor for your survey’s header. Add custom text or click the image icon to add a logo or other image.
- Footer: Click Show footer and then Edit to display the HTML editor for your survey’s footer. Add custom text or click the image icon to add an image to the footer.
- Progress bar: Check off this option to display a % complete progress bar as your respondents move through your survey.
- Allow edits: Check off this option if you’d like other admins to be able to edit your style template.
- Make public: Check off this option if you’d like other admins to be able to apply your style template to their surveys. Tip: You can make styles public but not editable if you’d like other admins to be able to use your style template but not make any changes to it.
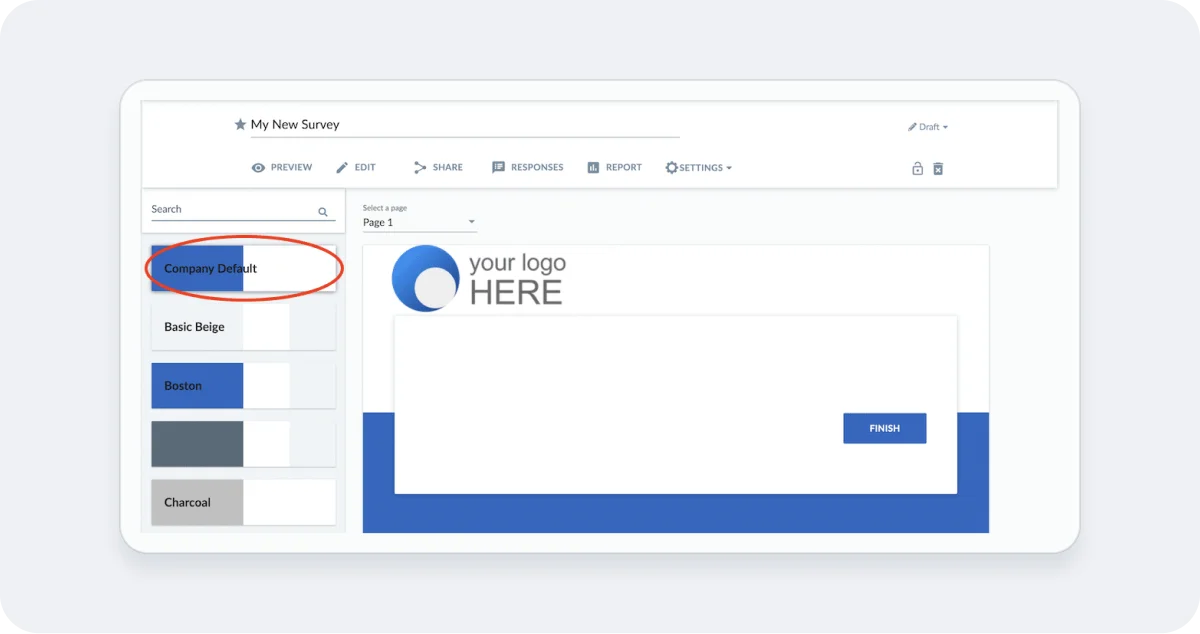
Applying a Style Template to Your Survey
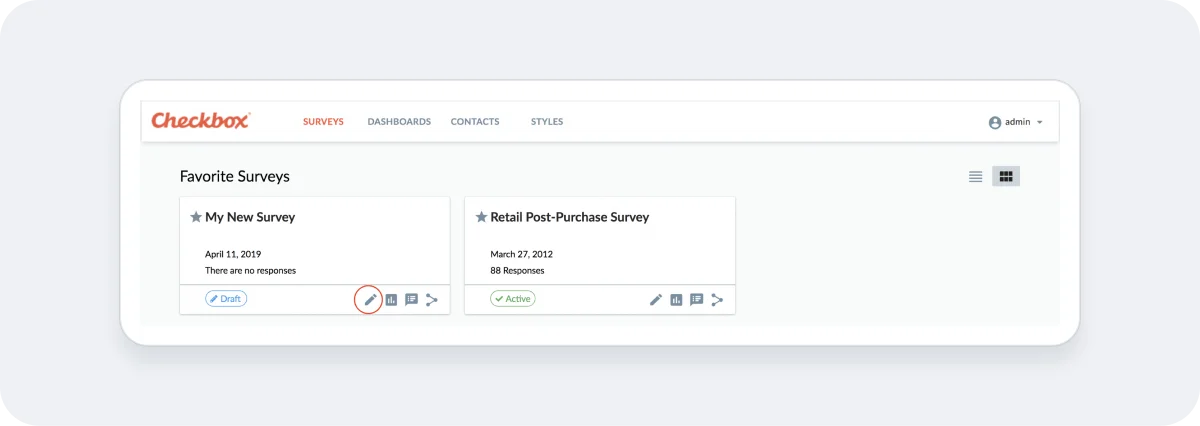
1. Edit your survey
2. Click Settings -> Style
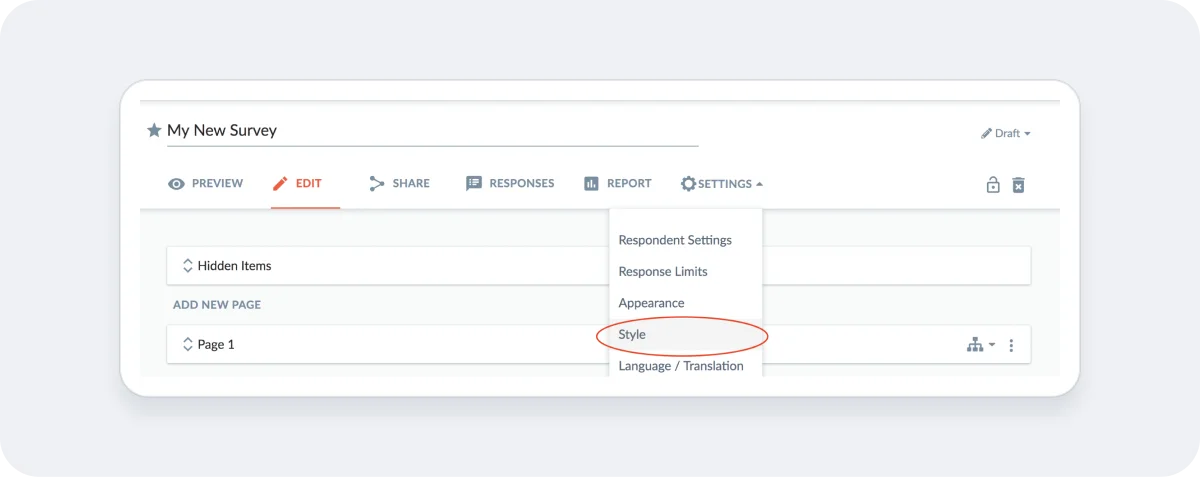
3. Choose the style template you’d like to apply to your survey
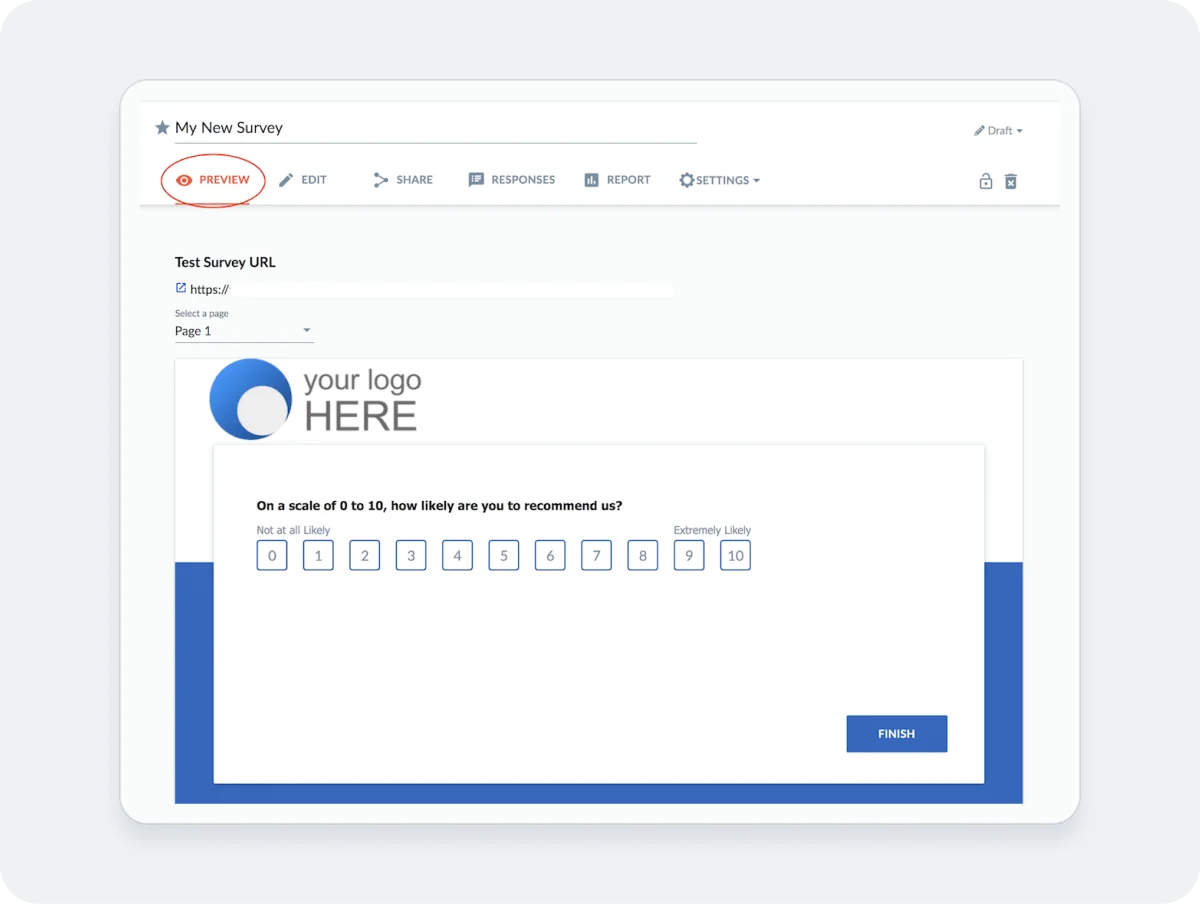
4. Go to the Preview tab to view your newly-styled survey
Related articles
No items found.